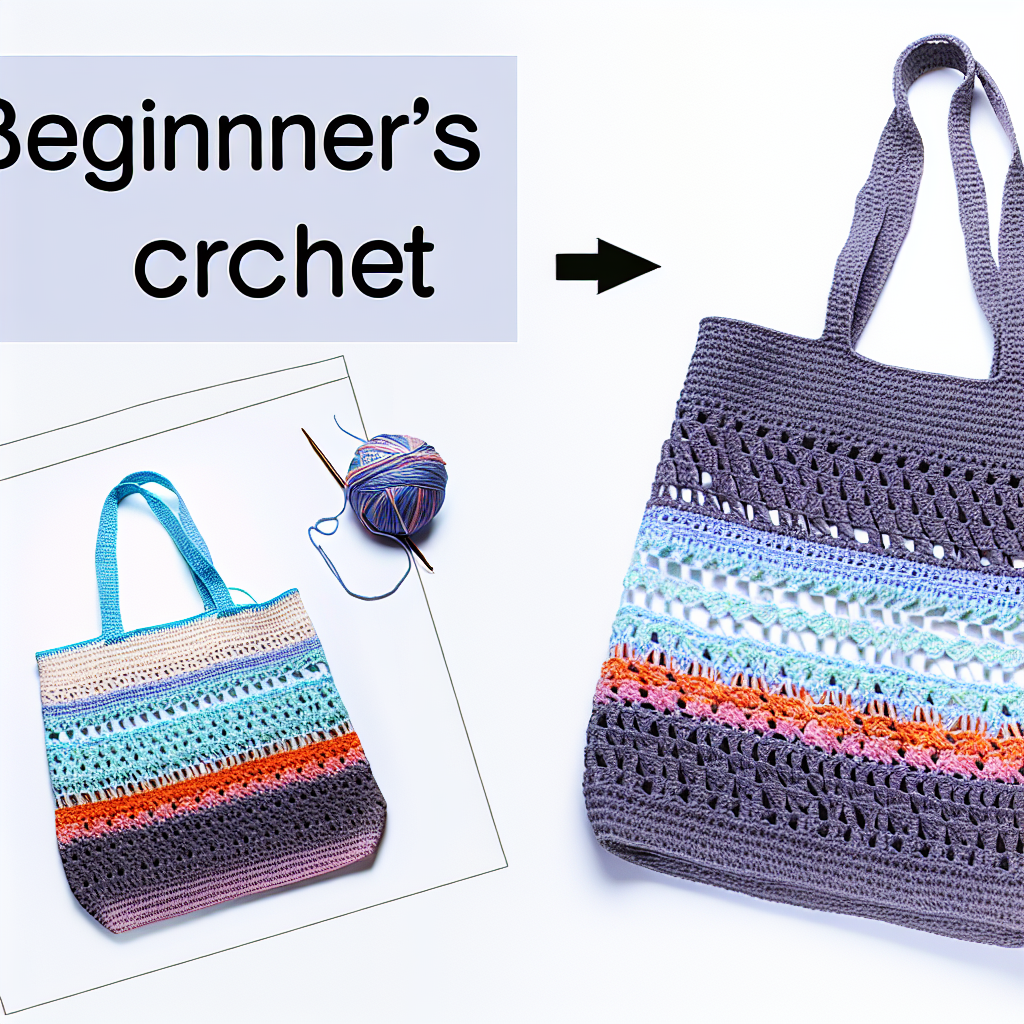
How to Crochet Your First Tote Bag: A Stylish Beginner Project
Crocheting is an incredibly rewarding hobby that allows you to create beautiful, functional items with just a hook and yarn. If you’re new to this craft and looking for a project that combines simplicity with style, then crocheting your first tote bag is the perfect choice. This step-by-step guide will provide you with all the necessary information to get started!
Why Tote Bags Make the Perfect First Project
Crochet tote bags are not only practical but also a stylish accessory you can customize to reflect your personality. Here are some reasons why they are ideal for beginners:
- Environmental Impact: Using a crocheted tote instead of plastic bags helps you reduce waste while showcasing your commitment to sustainability.
- Personal Style: You have the freedom to choose colors and patterns, turning your bag into a unique fashion statement.
- Thoughtful Gift: A handmade tote bag is a heartfelt gift for friends or family. Add a personal touch by incorporating their favorite colors or patterns.
- Versatile Use: Perfect for carrying groceries, beach days, or storing your yarn—these bags can suit a variety of purposes.
Essential Materials and Techniques for Your Tote
To embark on your crochet journey, gather the necessary materials and learn key techniques that are fundamental to creating your tote bag:
Materials Needed
- Yarn: Choose worsted weight (Category 4) cotton yarn for durability. Recommended brands include Lily Sugar’n Cream, Bernat Softee, and Red Heart Super Saver.
- Crochet Hook: A size G (4.0 mm) or H (5.0 mm) hook, based on your tension preference, is recommended.
- Optional Tools: A stitch marker, tapestry needle for weaving in ends, scissors, and measuring tape can be helpful.
Techniques to Master
This tote bag project is classified as a beginner level, introducing you to essential stitches:
- Chain (ch): The foundational stitch for most crochet patterns.
- Single Crochet (sc): This stitch creates a solid, robust fabric.
- Half Double Crochet (hdc): This stitch gives a thicker, looser fabric.
- Slip Stitch (sl st): Useful for joining or finishing your projects.
With your materials in hand and your stitches ready to go, follow the structured pattern to create your stylish tote bag.
Tote Bag Pattern Overview
Begin by making a slip knot and chaining 31 for the base of your tote bag:
Base (Bottom)
- Row 1: Starting in the 2nd ch from the hook, sc in each ch across (30 sc).
- Row 2-10: Ch 1, turn. Sc in each sc across (30 sc). This creates a strong foundation.
Sides
- Row 11: Ch 1, turn. Hdc in each sc across (30 hdc).
- Row 12-20: Ch 1, turn. Hdc in each hdc across (30 hdc). Keep repeating until you reach approximately 12 inches in height or your desired length.
Creating the Handles
- Row 21: Ch 1, turn. Sc in each hdc across (30 sc).
- Row 22: To make handle openings:
- Ch 10, skip the first 10 stitches, sc in the next 10 stitches.
- Ch 10, skip the next 10 stitches, sc in the final 10 stitches.
Final Touches
- Row 23: Repeat the pattern for three additional rows, then finish off.
- Finishing: Use the tapestry needle to weave in any loose ends.
Don’t hesitate to get creative! You might want to add a lining for durability or embellish your bag with unique accents like flowers or tassels.
Final Tips and What’s Next
Ensuring you enjoy the process is crucial. Here are a few tips:
- Practice Tension: Keeping consistent tension helps improve the overall look of your bag.
- Use a Stitch Marker: It can assist in tracking rounds seamlessly.
- Take Your Time: Enjoy each stitch; mistakes are part of the learning curve.
Congratulations on completing your first tote bag! You’ve not only created a stylish and practical accessory but also taken a significant stride in your crocheting journey. This beginner-friendly pattern opens the door to a world of crochet possibilities, encouraging you to explore more complex projects in the future. Keep crocheting and let your creativity shine!

