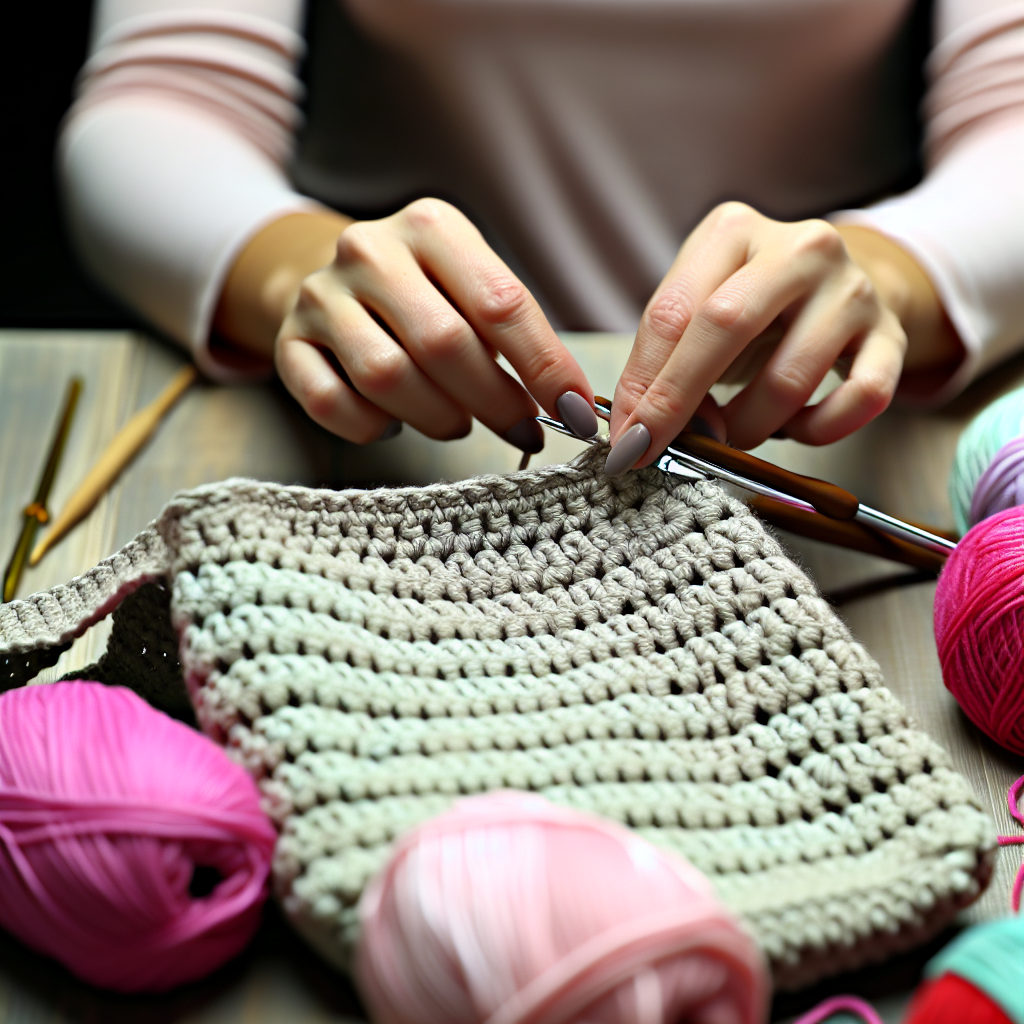
How to Crochet Your First Tote Bag: A Stylish Beginner Project
Crocheting is an enriching craft that not only fuels your creativity but also results in functional items like tote bags. These bags serve various purposes, making them a fantastic project for beginners. In this article, we will guide you through the process of creating your first crochet tote bag—from materials to the step-by-step pattern—ensuring a rewarding experience.
Understanding Your Project: Materials and Skills
Before you embark on the journey of crocheting your tote bag, it’s essential to understand the materials you’ll need and the skills required for this project. The right tools set the foundation, while basic crochet skills ensure your first project is a success.
Essential Materials
- Yarn: Choose a medium-weight yarn, specifically worsted weight (#4). Cotton yarn is highly recommended for its durability and ease of use, making it perfect for tote bags. Consider brands like Lily Sugar’n Cream or Lion Brand 24/7 Cotton.
- Crochet Hook: A size H/8 (5.0 mm) crochet hook is ideal for beginners.
- Tapestry Needle: This will be used to weave in your yarn ends and sew any seams, ensuring a polished finish.
- Scissors: Essential for cutting yarn once you’ve completed your project.
Skills Required
For this beginner project, you’ll need to know a few basic crochet techniques:
- Chain (ch) – the foundational stitch in crocheting.
- Slip Stitch (sl st) – used to connect rounds and seams.
- Single Crochet (sc) – a staple stitch that provides a tight fabric.
- Double Crochet (dc) – a taller stitch that adds texture and flexibility.
With these materials and skills, you’ll be fully equipped to start your crochet tote bag. Let’s move on to the fun part: creating your bag!
Create Your Own Tote Bag: Step-by-Step Instructions
Now that you’ve gathered your materials and reviewed the required skills, let’s delve into the specifics of crocheting your tote bag. Follow the outlined steps carefully to ensure a successful outcome.
Base of the Bag
Begin by creating the base. Start with a slip knot and chain 42 stitches.
- Row 1: In the second chain from the hook, make 1 sc in each chain across (41 sc). Turn.
- Row 2: Chain 1, 1 sc in each stitch across (41 sc). Turn.
- Continue Row 2 until your work measures approximately 12 inches.
Body of the Bag
Change colors now if you wish to add some vibrancy to your bag.
- Chain 1, in the first stitch make 1 sc, then alternate between 1 dc and 1 sc across.
- Continue this pattern until the body measures about 15 inches.
Finishing Touches
Fold the bag in half with the right sides facing each other, and join the sides using slip stitches.
- To create handles, chain 51 stitches.
- Row 1: 1 sc in 2nd chain from hook, followed by 1 sc in each chain (50 sc).
- Attach the handle to the bag’s edges using slip stitches.
- Repeat for the second handle on the opposite side.
Finally, weave in any loose ends with your tapestry needle and block the bag if desired to maintain its shape. Voila! You now have a stunning, handcrafted crochet tote bag.
Final Thoughts and Celebration of Your Craft
Creating your first crochet tote bag is not only a practical project but also an opportunity to express your creativity and reduce waste. By following the provided materials, skills, and step-by-step instructions, you’ve equipped yourself to make a beautiful accessory that reflects your unique style. Embrace the joy of crocheting and continue to explore new patterns and ideas. Happy crocheting!

