How to Crochet Your First Tote Bag: A Stylish Beginner Project
Crocheting is an incredibly rewarding hobby that allows you to create beautiful, functional items with just a hook and yarn. If you’re new to this craft and looking for a project that combines simplicity with style, then crocheting your first tote bag is the perfect choice. This project is ideal for beginners but engaging enough for intermediate crocheters looking to refine their skills.
Not only is a tote bag practical, but it’s also a stylish accessory that you can customize to suit your taste. Join me on this creative journey as we explore how to crochet your first tote bag, step-by-step!
Benefits & Use Cases
Crochet tote bags serve a multitude of purposes, making them an excellent project for novices and seasoned crocheters alike. Understanding the benefits and various use cases of tote bags will inspire your creativity and give your efforts added meaning.
- Environmental Impact: By using a crocheted tote instead of plastic bags, you contribute to reducing waste and showcase your commitment to sustainability.
- Stylish Accessory: The creative possibilities are endless! Customize colors and patterns to reflect your personal style, making your tote a statement piece.
- Perfect Gift: A handcrafted tote bag is an exceptional gift for loved ones. Personalize it with their favorite colors or patterns for an extra special touch.
- Ideal for Storage: Beyond being a stylish accessory, tote bags can serve practical purposes like storing yarn, as a beach bag, grocery bag, or everyday carry-all.
Materials You’ll Need
Before embarking on your crochet adventure, gather the necessary materials. Starting with quality supplies can elevate your project and boost your confidence as a beginner.
Essential Supplies
- Yarn: Select a worsted weight (Category 4) cotton yarn for durability. Well-known brands include:
- Lily Sugar’n Cream
- Bernat Softee
- Red Heart Super Saver
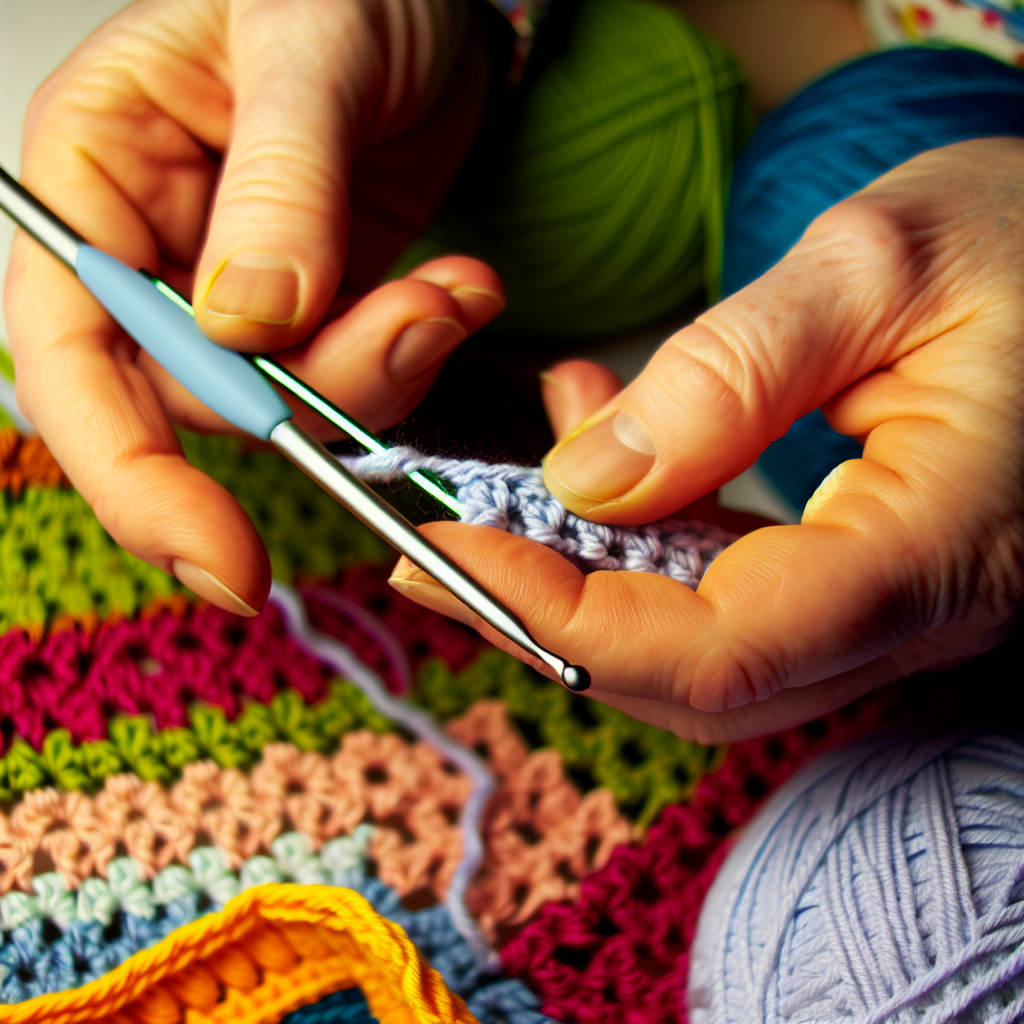
- Crochet Hook: Use a size G (4.0 mm) or H (5.0 mm) hook, depending on your tension preference.
Optional Tools
- Stitch Marker: A great tool to keep track of your rounds.
- Tapestry Needle: Essential for weaving in ends to give your bag a polished finish.
- Scissors: For trimming your yarn after finishing your project.
- Measuring Tape: Useful for checking dimensions as you go along.
Skills Required
As a beginner, this tote bag project is designed to introduce you to essential crocheting techniques that will serve you well in future projects. You’ll learn foundational stitches and skills crucial for advancing your crochet repertoire.
Required Stitches
The following basic stitches are utilized in this project:
- Chain (ch): The fundamental stitch for most crochet patterns.
- Single Crochet (sc): A simple stitch that creates a solid fabric.
- Half Double Crochet (hdc): Produces a looser, thicker texture compared to single crochet.
- Slip Stitch (sl st): Used for joining or finishing projects seamlessly.
Step-by-Step Pattern Overview
With your materials gathered, let’s dive into the pattern to create your first stylish tote bag. We will construct the bag using a rectangular pattern, forming the base and building up the sides.
Tote Bag Pattern
Start by creating a slip knot and chain 31 for the base of your tote bag.
Base (Bottom)
- Row 1: Starting in the 2nd ch from the hook, sc in each ch across (30 sc).
- Row 2-10: Ch 1, turn. Sc in each sc across (30 sc).
- Note: This creates a sturdy base. You can adjust the number of rows for the desired width.
Sides
- Row 11: Ch 1, turn. Hdc in each sc across (30 hdc).
- Row 12-20: Ch 1, turn. Hdc in each hdc across (30 hdc).
- Note: Repeat this until the bag reaches approximately 12 inches high, or your desired height.
Creating the Handles
- Row 21: Ch 1, turn. Sc in each hdc across (30 sc).
- Row 22: Creating the handle openings:
- Handle Area: Ch 10, skip the first 10 stitches, sc in the next 10 stitches.
- Ch 10, skip the next 10 stitches, sc in the last 10 stitches (resulting in two handle openings).
Finalizing the Tote
- Row 23: Repeat for 3 more rows, then finish off.
- Finishing Touch: Use the tapestry needle to weave in any loose ends.
Adding Additional Style
Once you have the basics down, feel free to express your creativity! Consider adding a lining for extra durability or embellishing the bag with flowers, buttons, or even tassels to give it a personal touch.
Tips for Beginners
- Practice Tension: Achieving consistent tension is key to ensuring an even appearance in your work.
- Use a Stitch Marker: Place a marker in your first stitch of each round to help keep track of your progress.
- Don’t Rush: Take your time and enjoy the process. Making mistakes is part of learning, so embrace them!
Conclusion
Creating your first crocheted tote bag is not just an exercise in style, but also an achievement in your crafting journey. By mastering this beginner-friendly pattern, you’ve taken a significant step into the world of crochet, unlocking endless possibilities for future projects. Whether you keep the tote bag or gift it to someone special, your work reflects your creativity and dedication to this beautiful craft. Happy crocheting!